You’ll save a ton of money and be able to watch your preferred TV shows with a homemade projector. How to make a homemade projector with a mirror?
When you require a projector, DIY projectors are quick and simple fixes. You can quickly set up a projector with just a few basic materials and tools.
Therefore, keep reading if you’re looking for a simple and quick tutorial on how to build a homemade projector.
Table of Contents
Assemble Your Materials & Tools
When you start by gathering all the materials you’ll need, DIY projects go much more smoothly. The following supplies are necessary for your homemade projector.
- A smartphone
- A mirror (should be able to fit into the box you will be using)
- A magnifying glass
- A rectangular cardboard box (shoebox works great)
- A pair of scissors
- Some glue
- Tape
- Black paper (matte)
- Protractor (optional)
- Pencil
How To Make A Homemade Projector With A Mirror?
Follow these easy instructions to set up a homemade projector with a mirror after you have prepared all the required parts and tools.
Step 1: Cut The Cardboard Box
The rectangular cardboard or shoe box must first have a circular hole cut out of the small side. The circumference of this cylinder must match that of your magnifying glass.
The magnifying glass should be positioned in the middle of the box’s outer surface to complete this task. To create a circular print, use your pencil to trace the back of the lens.
After making a small cut with the knife on the mark, carefully use your scissors to slowly remove the pencil mark. This step requires patience and caution because even the smallest flaw can ruin the hole and prevent your magnifying glass from fitting.
Step 2: Cover The Interior Of The Box
The box’s interior must then be covered in order to prevent light from entering. By doing this, you can prevent ambient light from having an impact on your image.
Use the black matte paper and adhere it to the box’s interior surfaces using glue or one-sided tape. You can accomplish this more quickly and with less effort by painting the surface black.
If you use black paint, be sure to wear a facemask to protect your lungs and give the paint 5 to 10 minutes to dry before moving on.
Your image’s quality can be ruined by even a tiny ray of light. Make sure to cover any edges, corners, or tiny holes in your box with black matte paper.
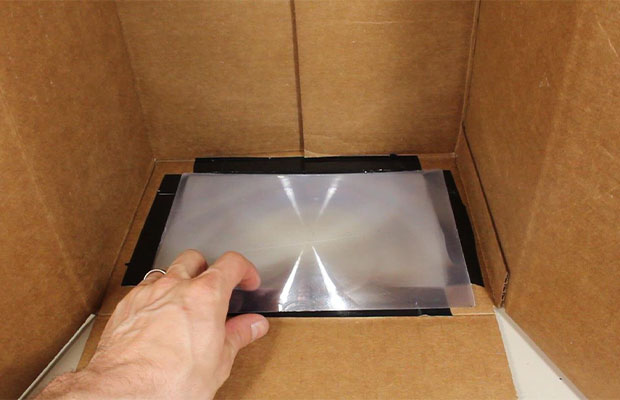
Step 3: Place The Mirror To The Bottom
Apply glue or silicone to the inner bottom surface of the box after the paint layer has had time to dry. Place the mirror there and hold it there for a few minutes to allow the glue to adhere.
Insert the magnifying glass now into the radially-cut hole. The glass will fit perfectly into the hole if you completed the previous step correctly.
Hold the lens in place with tape or glue.
Step 4: Construct The Phone Holder
To get the best reflection of your smartphone’s image in the mirror, use a phone holder to hold and adjust the position of your phone.
The best option is to buy a regular phone holder that has height and holding position adjustments. Although it takes more time, you can also make a phone holder out of wood bars or straws.
Step 5: Adjust The Image Position
In order to check the image reflected in the mirror, try turning on your smartphone now. When projected through the magnifying glass, make sure the image on the phone holder exactly fits the project screen.
You should flip your phone upside-down because, as you may recall, the glass will cause the image to flip. Try moving the phone closer to or farther away from the lens if the image is not perfect.
Step 6: Cover The Homemade Project In Cardboard
As I’ve already mentioned, ambient light can deteriorate the quality of the projected image. Cover your phone’s surroundings by enclosing it in cardboard if your room has windows or lamps.
Your device will produce brighter and sharper images in a dark environment.
Read More: How To Make Projector Brighter?
Step 7: Enjoy The Result
You’ve now created a homemade projector that uses a mirror.
The best option is to use wireless headphones or speakers because the box can interfere with the sound coming from your smartphone.
FAQs
Which Lens Is Required For A Homemade Projector?
The convex lens or optical lens with two spherical surfaces is the best choice. It has the ability to concentrate the light beams coming through on the opposite side.
How Can I Clear Up My Projector?
To get the best possible image, open your phone’s settings and set the brightness to maximum. If the image is hazy, try moving your projector closer to the wall and shielding it from the room’s natural light.
How Can The Projector Screen Be Made Larger?
The quickest method is to move the phone away from the magnifying glass. If there isn’t any more room, try using a different kind of magnifying glass to get a better viewing angle.
Conclusion
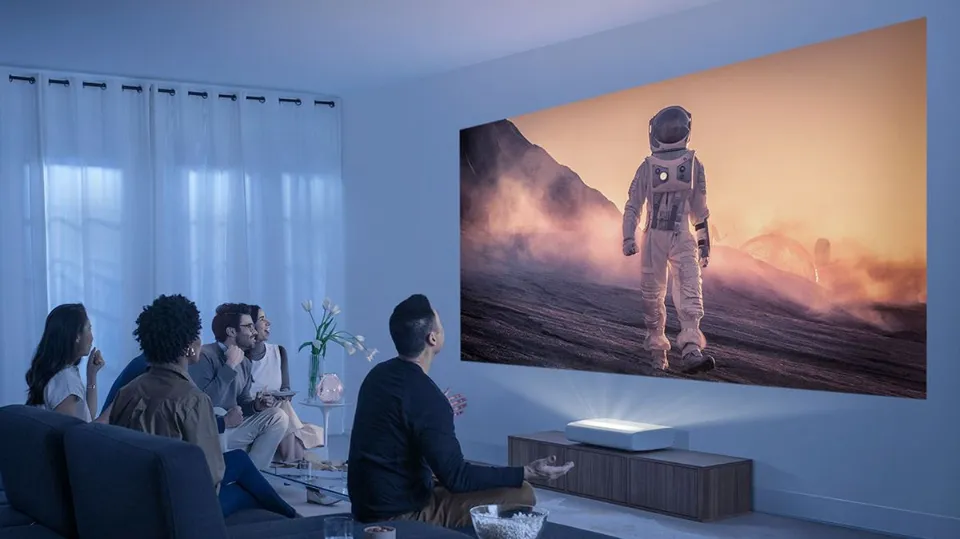
Making a homemade projector out of a mirror can make it simple to watch your favorite movie on a large screen.
You’ll save a ton of money and be able to watch your preferred TV shows with a homemade projector.
A homemade projector is preferable to watching your favorite movie or video on your phone, even though the image quality might not be as good as it would be with an actual projector.
Read More:

