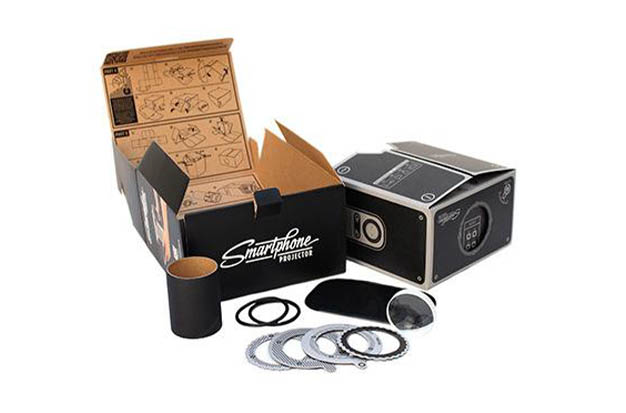
Did you know you could make a smartphone projector out of an old shoebox and other office supplies? You can, indeed! It is a simple, entertaining experiment in physics that you may perform at home. Study and take note of light.
With this do-it-yourself project, you can gain knowledge about light and optics while also sparking your imagination for your upcoming work of art.
Overall, doing this photography hack alone, with friends, or with family is entertaining and enlightening. Additionally, you will be reusing household items, which will help create a culture of zero waste.
So, without further ado, here is a step-by-step guide for making a smartphone projector at home.
Table of Contents
What You Need To Make A DIY Projector
Get into one place each of the following:
- Shoebox (or similar)
- Thick black paper or black matte paint
- Pencil
- Ruler
- Glue and brush
- Double-sided tape (optional)
- Scissors or precision knife
- Magnifying glass
- Mirror
How To Make A DIY Projector (Step By Step)
Step 1: Select The Appropriate Mirror And Box For Your DIY Projector
To produce a larger projected image using the light from your phone, we will build a projector that uses a mirror and a magnifying lens. The brighter the final image would be, the more light would enter the magnifying glass. Because of this, you should have a reasonably small box to prevent light from dispersing before hitting the glass.
To change the distance between the projection lens and your phone, you need a lengthy box. In light of this, you should use a box that the screen of your phone can fit across. In my case, I used a 16 x 31 x 12 cm box.
The mirror should be rectangular and plain and be at least the same size as the phone you will use.
Step 2: Darken Your Projector’s Interior Tor Better Image Quality
Cut out one of the outer box’s narrow sides using a sharp knife or pair of scissors. Because it is a crucial component of your projector, keep it.
Don’t forget to cut off the box’s lid as well.
The noise would emerge from light bouncing off the box’s walls, which might also reduce the quality of the image. Make the projector’s interior sides black to prevent that. Black matte paper can be adhered to the projector’s interior to coat it.
To ensure that the black paper firmly adheres to the box, spread the glue out evenly using a brush. Instead of glue, you can choose to use double-sided tape.
Another option is to paint the box. Keep in mind that you will need to let the paint dry and make sure to use a product that has a matte texture. You also need to coat the inside of the box lid and the narrow box side you cut out previously.
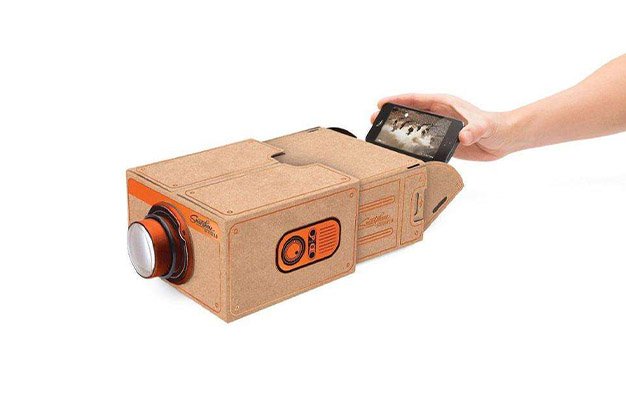
Step 3: How To Set Up Your DIY Smartphone Projector’s Lens
Remove the handle from your magnifying glass with your hand. On the center of the narrow side, you cut out and trace the outline of the magnifying glass.
Cut out the outline with the precise knife so that the magnifying glass slips into the gap you’ve created. Your lens side is now prepared for installation.
Step 4: Making Your Smartphone Projector’s Focus Manually Adjustable
We must be able to move the lens with respect to the phone in order to have an adjustable focus. You must build a second box that will fit within the outer box in order to accomplish that. Take dimensions of the box’s interior. Four pieces of black paper should be precisely folded with a ruler to form folds that fit the box’s edges.
When you’ve completed all four folds, cut five millimeter deep slits along one edge, then fold the flaps you’ve created.
Glue the flaps to the flaps next to them.
The structure will become more rigid as a result. Then glue the papers to each other to make an open box. Finally, glue the lens side onto the flaps of the inner box.
The inner box should have a relatively tight fit inside the outer one.
Step 5: Mirror Installation In Cardboard Smartphone Projector
The lens concentrates and refracts light to project images from the phone. This implies that the image we see on the wall is rotated from left to right and upside down. The first is simple to fix. All you have to do is turn the phone’s screen off from rotating automatically and turn it over.
You need a mirror to create a mirror image that the lens would flip in order to rectify the image from left to right.
Place the mirror against the other side of the lens at a 45-degree angle. Verify that you can see the projecting lens when you look up at the mirror.
Step 6: Cut Out A Window For Your Smartphone
The screen’s width and length should be measured. On the projector lid, just above the mirror, draw a rectangle the size of your phone screen.
With a sharp knife, trim the rectangle. You shouldn’t worry if you cut the rectangle a little bit larger than necessary, but take care not to go above the phone’s actual size.
Step 3: Cut a hole for the magnifying glass, and then insert it. You’re done with it, then! Your very own DIY smartphone projector is now functional. If you’d like, you can embellish it with paints, vibrant papers, or any other supplies you have on hand.
How To Adjust Your Projector’s Focus For An Optimal Image
Put your projector in front of a white wall or a screen to get it ready. Set the brightness on your phone at its highest setting and set it on top of the cut-out opening you created. I advise you to disable auto-rotation and change the screen sleep time to “Never.” The projector should now be the only source of light in the room after turning off all the other lights.
While observing the picture on the wall, begin slowly sliding the lens away from the mirror. When the image is sharp, the lens movement should stop. If the image is not sharp enough, you might need to adjust the distance between the wall and the projector.
Conclusion
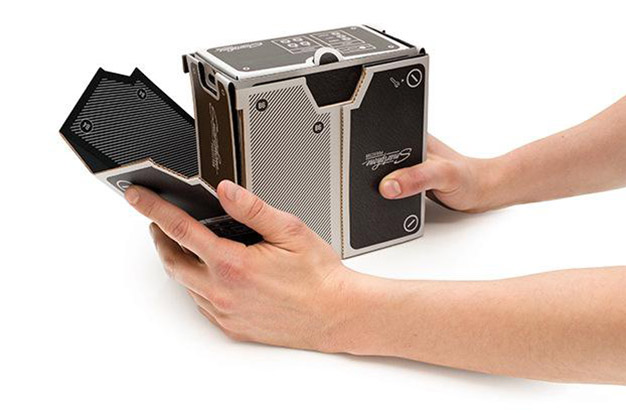
Isn’t it incredible? You constructed a smartphone projector out of a cardboard box and a magnifying glass. This project’s underlying notions date back to the sixteenth century. Back then, this “camera obscura” was a painting tool utilized by painters.
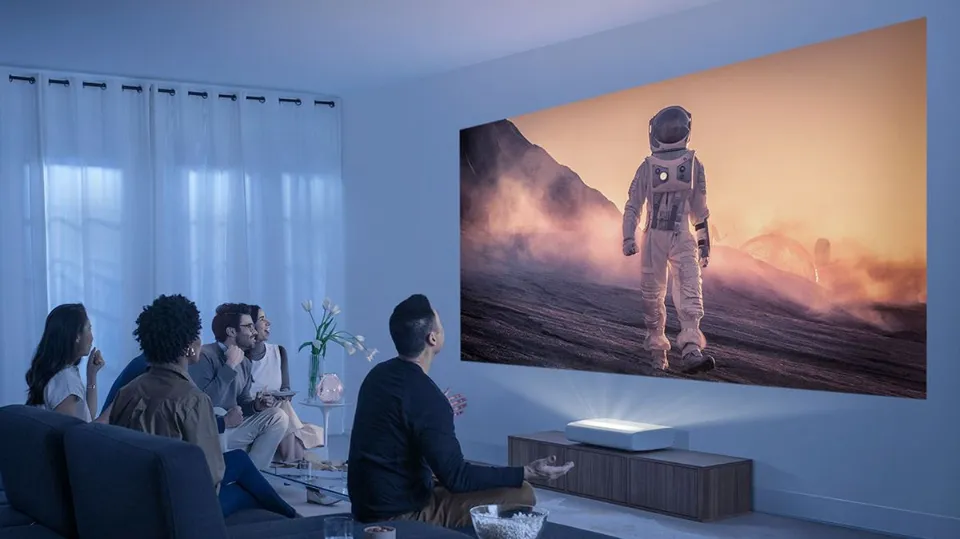
You can do this as well; simply direct your DIY projector toward some paper and begin tracing. Using graphics projected onto your subjects to create unusual light effects during your next photo shoot is another original idea. Additionally, you may use it as a movie projector to watch movies or to present images to your friends. Your imagination is the only restriction.
If you enjoyed making this DIY project, you might also want to try making a DIY light box or pinhole camera. Keep in mind that the goal is to continue being crafty and creative!

