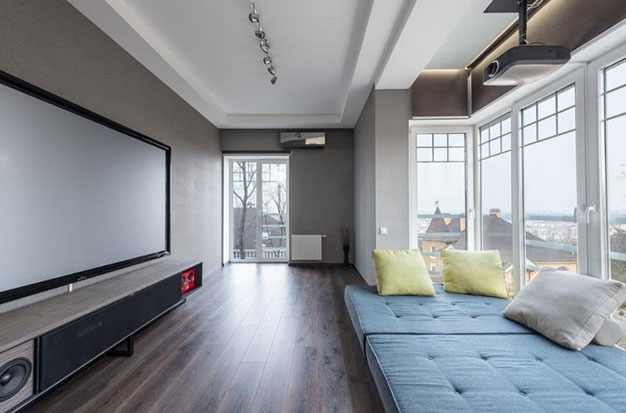
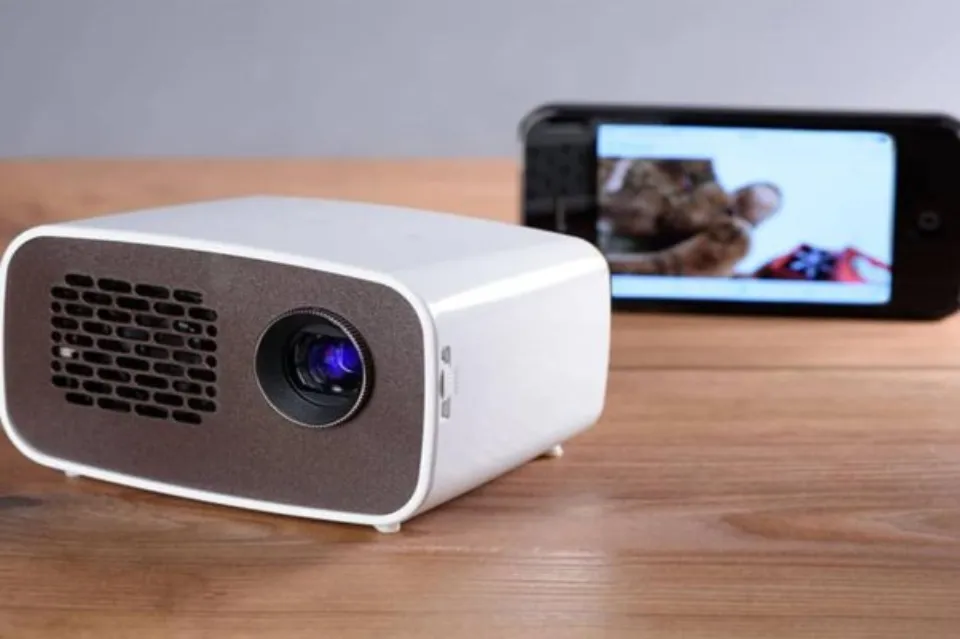
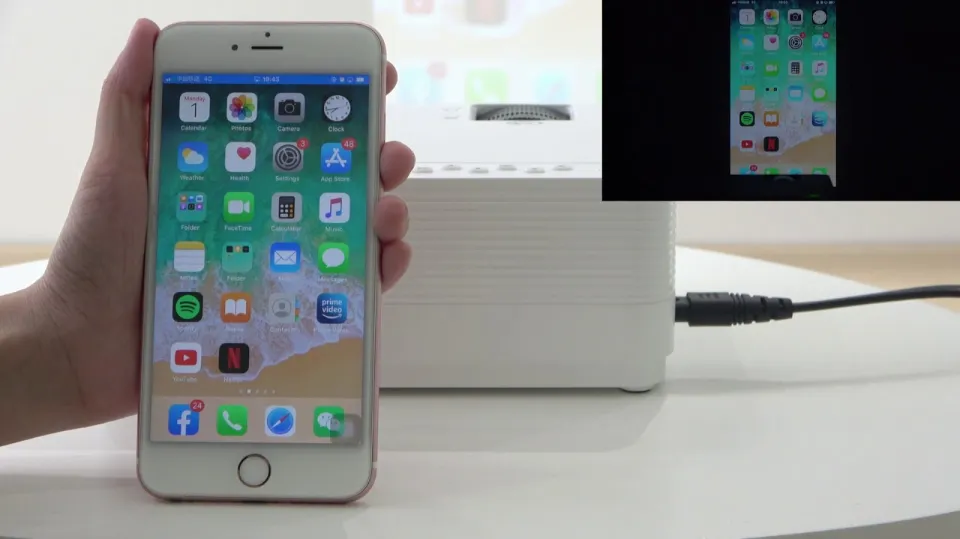
The best way to enjoy a large-screen experience in your own home is with a projector-based home theater system. While setting it up is not difficult, you do need to consider different factors than you would if you were setting up a home theater centered around a TV.
Before you start shopping to save time and hassle, take a look at this step-by-step guide if you’re considering setting up your own home theater system with a projector. Don’t just try to copy someone else’s space because no two perfect home theaters will be identical. To make one that is truly unique to you only requires a little more thought.
Table of Contents
Can I Connect A Projector To My Home Theater?
Yes, you should connect your projector to your home theater system. The short answer is yes, but the reality is much more interesting.
In order to position and connect video and audio in a home theater to produce a high-fidelity theater experience, a number of dynamics must be taken into account, just as in a traditional movie theater. The input/output board of your projector can be connected in a variety of ways, including HDMI slots, RCA cables, 3.5mm jacks, and even wireless signals.
Equipment You Will Need
To set up your home theater system with a projector, you will need additional equipment in addition to your media devices and home theater system.
Projector
It’s difficult to pick the right projector for your home theater setup. There are numerous things to consider, such as the size of the room, the resolution, the brightness, and of course, your budget. Commercial projectors can range in price from $500 to more than $2000, but our testing reveals that the Epson Home Cinema 2150 is among the best projectors for your home theater.
Astonishingly for the price range, the Epson 2150 projector displays 1080p Full HD and has a bright 2,500 lumens of color brightness. Its excellent controls, which include keystone, vertical shift, and zoom, make home setup and configuration a breeze.
Projector Screen
Once you have your projector, you can start by mounting it on a white or grey painted wall in a dimly lit room. This will work in most circumstances. If that doesn’t work out, you should definitely invest in a good projector screen to help improve video quality.
Power
Your projector needs a power outlet nearby whether you put it near the ceiling, in the front, or in the back of the room. In this situation, it would be wise to have a qualified electrician set one up for you close to the location where the projector will be installed. While they’re at it, they can also run media cables through your walls or ceiling.
For your home theater system, you will also require a strong surge protection system. Power surges, lightning, and other electrical problems can fry your home theater and projector, which you should already be aware of. Consider purchasing a power conditioner if you can afford it for the best possible power protection.
HDMI Cabling
There will be a distance between your image and sound source and each component in your room. You will need good HDMI connections for that, able to transmit 4K content and HD audio with high bit rates. Your best option for runs longer than 25 feet might be an active HDMI or fiber-optic HDMI cable.
Universal Remote Control
There may be four or more remote consoles left over after you finish setting up your home theater and projector. A universal programmable remote can assist you in managing everything from a single platform since this isn’t practical.
The programmable features enable you to control various functions, turn everything on or off with a single button, and much more. With its simple setup and compatibility with almost every home device you own, the Logitech Harmony is a universal favorite for this specific use.
What’s The Best Way To Set Up A Projector With A Home Theater System?
Examine Your Room
When you switch from a television to a projector in your home theater, you probably need to rearrange a few things. Before anything else, you must position the projector and the screen you’ll be viewing.
The way you approach light when setting up a home theater with a projector is one of the biggest differences. Take into account the fixed lighting sources you have, such as windows and lighting fixtures. The brighter and more detailed your image will be, the less light pollution will be able to enter the projector lamp and onto the screen.
You are not restricted to using a specific image size, which is the second significant difference. Most projectors are capable of producing images on screens as small as 30 inches and as large as 300 inches, depending on how the lamp is configured and the distance between lamp and screen. The image will be more vulnerable to light pollution and require a greater distance between the lamp and the screen the larger the screen. You’ll need to look for a short-throw projector, which frequently does mean spending a little bit more money if you want a big screen in a small space.
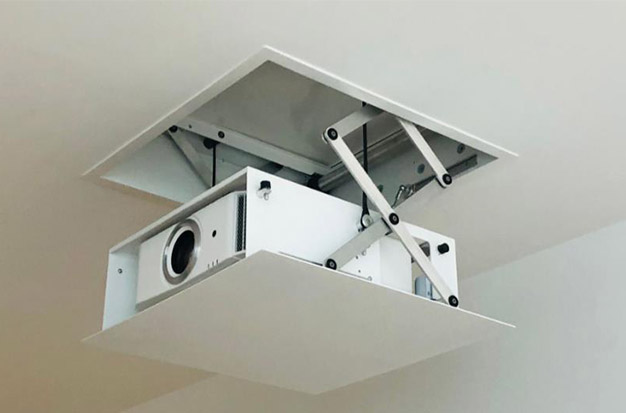
Last but not least, consider your seating arrangement. The screen must be accessible for the projector’s light beam to travel without interference. Consider how you’ll raise the projector beam over everyone’s heads if you want to place your couch in front of the screen and between the projector. For long-term installations, ceiling mounting is the safest choice, but tall shelves and other pieces of furniture can also be used in a practical way.
Choose The Right Screen
A white bedsheet or a projector can be hung to directly project an image onto a wall in an emergency. It’s worthwhile to allocate a portion of your budget toward a high-quality screen if you’re constructing a full-fledged home theater, though.
One cannot overstate how important the screen is to the viewing experience. You won’t find many completely white, empty walls in your home that are the right size for a projector screen. Additionally, many projector screens are made specifically to increase contrast or otherwise enhance image quality, which can be very helpful in spaces with a lot of natural light or other restrictions. Others have tiny holes so you can mount speakers behind the screen for true surround sound in a theater.
Determine How You’ll Get Your Content
When you switch from a TV to a projector, this area of your home theater is likely to remain largely unchanged. The secret is to purchase a projector that works the way you prefer to watch television and movies. The common HDMI input found on all home theater projectors will be adequate for you if you primarily watch content through a streaming device, gaming console, or set-top box. However, you won’t find options for VGA, MHL, or wireless streaming on every projector, so be sure to check for that feature if you require it.
Explore Your Sound Options
Most television speakers have enough output to fill a typical living room with respectable sound. But because they are smaller than other devices, projectors’ tiny 10-watt speakers don’t produce as much sound. Projector heat lamps need fans to cool them, and these fans produce some noise on their own, which exacerbates the issue.
While they are not required if you’re using a projector, external speakers are an option for TV-based home theater systems. Just make sure the projector you buy is compatible if you already have one. A 3.0 is typically provided by most projectors.5mm audio out. If you have a spare HDMI port, you can also use it for a wireless adapter to connect your speakers via Bluetooth
Buy Your Equipment
Make a list of all the items you’ll need to buy to complete your home theater. This tells you how many ways to divide your entire budget. You will require the projector and the screen, at the very least. You might also need to purchase a sound system and ancillary items like extra cables or a ceiling mount.
Most likely, your biggest expense will be the projector. Budget models start at just over $100 and range in price from there, with full-featured 4K Ultra HD editions going for $2,000 or more. A projector in the $500–$1,000 price range with a 1080p resolution should be adequate for most homes.
Unexpectedly, screens come in the same price range. You can find a decent screen in the $50–100 price range that should work well for most homes and is a simple white screen that is between 120–150 inches wide. Spending more is only necessary if you want extra features like a high-contrast screen or the choice of speakers behind the screen.
It’s really up to you how much your sound system will cost. If you’ve been pleased with the sound coming from your television’s speakers, a straightforward 2.1 surround sound system (two bookshelf speakers and one subwoofer) should be just fine. As little as $50 will get you a decent set.
Last but not least, don’t overlook ancillary items like cables and ceiling mounts. Individually, these don’t add much to the cost; most ceiling mount systems cost between $25 and $50. However, keep in mind that this equipment will also need to be installed. In particular, if you plan to run the wires through the walls or otherwise work with your home’s electrical system, this may be a project you should leave to a professional if you’re not an experienced do-it-yourselfer.
Connect All The Pieces
When it comes to the setup, the key question is whether you require professional installation. You won’t have any trouble mounting the projector yourself if you’re not doing it already. Even the majority of mounting systems are straightforward enough to be completed by a person with an only rudimentary knowledge of home maintenance and electronics.
Before you begin, make sure you have purchased and assembled all of the necessary components. When you start your project, everything will go much more smoothly if you have the necessary cables, screws, and tools on hand.
You should also take the time to read the projector’s instruction manual thoroughly. When you turn on your system, sometimes connecting components in a specific order can help ensure that they all function properly. This is crucial for ceiling-mounted systems in particular because it can be annoying to fiddle with them after installation.
Set Up The Projector
Choosing the projector position you will likely need to do some image alignment and adjustment to get the image from your projector to the right size and perfectly centered on the screen. Before you fasten the hardware, mount the projector if necessary so that you can be certain it is in the proper location. Before you’re ready to make the placement permanent, position the projector at the appropriate height by placing it atop a ladder. If the projector’s placement is fixed due to the limitations of your space, another option is to postpone mounting the screen permanently and move it around to change the image size.
Depending on the projector, you may have the ability to zoom, align, or invert the image. In order to position the projector at an angle to the screen without distorting the image, many projectors offer keystone adjustment. Ensure that the lens is pointed directly at the screen if yours doesn’t if you want to avoid any issues.
A wizard that guides you through configuring your settings, sound, and picture is built into some projectors. The process might or might not be as simple as plugging everything into the correct ports. It’s likely that you are not the only one who experiences difficulty or confusion. There are a ton of video tutorials available that can help with the specific quirks of certain models or setups, and most likely one of them will have the solution to your problem.
Finish The Installation
Find a permanent location for your speakers, mount your projector if you plan to, and hang your screen permanently. Verify that no cords or wires are dangling loosely from the ceiling, spanning walkways, or otherwise posing a threat.
Check Your Sound And Content Sources
Verify once more that everything has been connected properly before you call it a day. It is much less frustrating to identify and address any issues upfront rather than waiting until you’re about to start watching your favorite program.
When you sit down to enjoy your projector, do whatever you normally do: start a Netflix show on your FireStick, play a quick game on your PlayStation, etc. Before you call it a day, make sure that all input channels have functioning sound and pictures. Also, make sure that they are all in alignment.
Conclusion
Projectors are no longer dated and uninteresting. In fact, the best 4K and HDR TVs can now compete with the best projector technology, which is quite the opposite.
Setting up a home theater system with a projector is the best option if you want to enjoy a genuine big-screen cinematic experience. In order to ensure epic video and audio, modern projectors are much simpler to connect to your surround sound system.
You’ll have plenty of reasons to brag about your home entertainment if you just put some money and time into the project.
Read more about: How To Use A Projector Outside During The Day?

