Projectors are excellent for displaying photos on a wall, but they can be pricey and bulky. Do you know how to project an image on a wall without a projector? It’s not difficult! You can use a flashlight or your smartphone to project an image on a wall, and it’s simple to do.
A great way to entertain guests or create a more intimate environment is to project a picture onto a wall. Here’s how to project an image using a flashlight.
Table of Contents
Projecting An Image With a Flashlight
If you don’t have a projector, you can still use a flashlight and some inexpensive supplies to project your favorite photos onto a wall. Small images respond best to this technique.
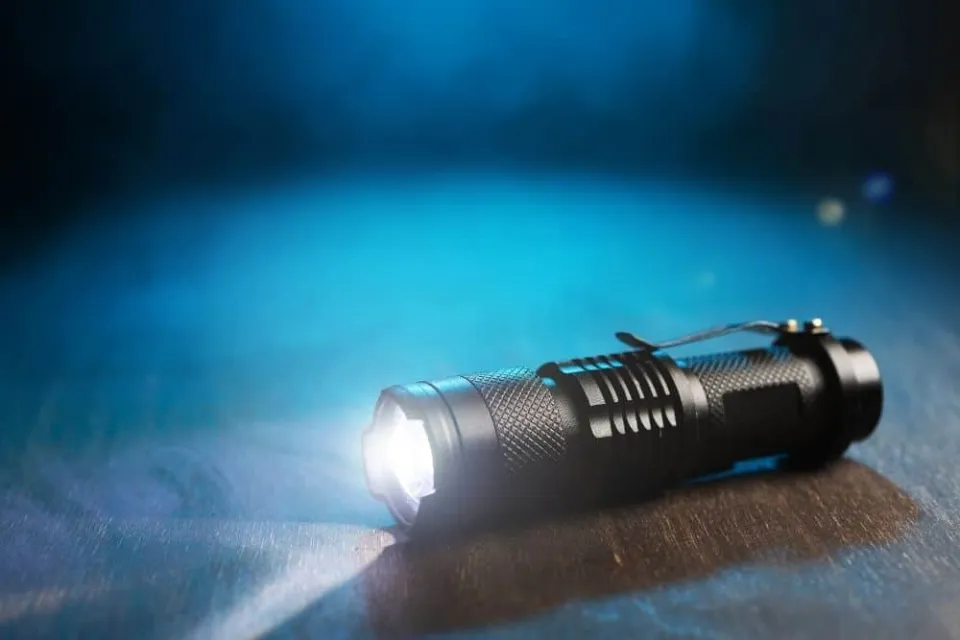
What You’ll Need:
- A flashlight
- A piece of cardboard
- Tape
- A magnifying glass (optional)
- Your favorite picture
Instructions:
- Create a rectangular cardboard piece that is just a little bit bigger than your image.
- Place the image face down on the cardboard, then secure it with tape.
- Put the cardboard against the wall flat, turn out the lights in the space, and secure it there.
- Angle the flashlight so that the light shines onto the cardboard while holding it about a foot away from the image.
- Until the image is projected onto the wall at the desired size, move the flashlight closer or farther away from the image.
- A magnifying glass can also be used to direct the light and produce a clearer image.
Projecting An Image With Your Smartphone
If you’re like most people, you likely believe that a mobile phone is only used for making and receiving calls and browsing the internet.
That is, in part, true.
The world has changed, and a smartphone can now be used for a wide variety of tasks. You can project an image with your smartphone, among other things.
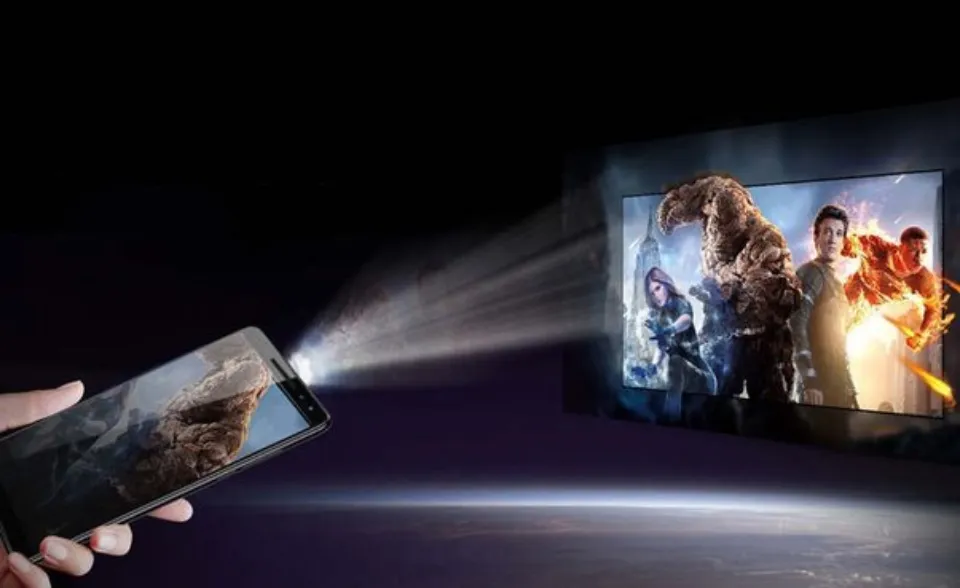
Let’s be clear: there is no projector configuration built into any mobile phone. However, you could use your smartphone to make a cheap Do-It-Yourself (DIY) projector with a little modification.
Here’s a guide on how to do that.
Here are the materials you will need, first.
- Precision knife or scissors
- Mirror
- Magnifying glass
- Ruler, pencil
- A shoebox or something similar
- Double-sided tape, brush, and glue
- either matte black paint or heavy black paper.
How to make a smartphone projector with cardboard | DIY | 5 tips for better results
1. Use the Right Box and Mirror
You must put a mirror and a magnifying glass inside the box. Using your phone’s light beam to project a large image is made easier by this setup.
More light must enter the magnifying glass for the final image to be brighter.
You’ll also require a long box so you can change the gap between your phone and the projecting lens. Generally speaking, you would require a box that fits your phone’s screen.
Plain, rectangular, and the same size as your phone are the requirements for the mirror.
2. Blackout the Interior for Better Image Quality
Cut a small portion of the outer box’s side with scissors or a sharp knife, then store it safely. And cut the lid off the box.
The box walls reflect light, which causes noise in the images. Consequently, a poor-quality image will result.
You must cover the inside of your projector with black matte paper to prevent this from happening. Simply adhere the black matte paper to the projector’s interior walls to accomplish this.
It’s not difficult to evenly distribute the glue on the black matte paper. You can use a brush to complete it.
Alternatively, you could choose to paint the box if you don’t have any black matte papers. Let the paint dry after painting.
3. Installing Your Lens into the DIY Mobile Projector
In the center of the narrow side that was cut out, remove the handle from your magnifying glass and trace its outline.
Cut out the outline with your sharp knife so that the magnifying glass will fit in the space.
4. Design a Manual, Adjustable Focus for Your Phone Projector
A lens that can be moved in relation to the phone is what is meant by an adjustable focus.
You need to construct a second box that fits inside the outer box in order to improve focus.
Create four black paper folds and fit them at the box’s edge after the second box has been made.
Be careful when measuring accurately; use a ruler.
Fold the flaps after making a few small cuts at one edge. Attach the flaps’ neighboring sides together using glue. The structure is strengthened and rigidized by this arrangement.
The lens should now be adhered to the inner box flaps with glue.
5. Install the Mirror in the Cardboard Phone Projector
Up until this point, your setup has projected an image that flips upside down and is positioned left to right.
The latter is relatively easy to fix; all you have to do is turn off your phone’s auto-rotate feature. You would have to turn your phone over after deactivating the feature.
A mirror can be used to adjust the left-to-right image positioning. The mirror should be placed against the edge opposite the lens at a 45-degree angle to achieve this.
6. Create a Window for the Phone
Draw a rectangle on the projector’s lid above the mirror using the dimensions of your phone’s screen. Cut the rectangle out using a sharp knife.
Lastly, insert the magnifying glass through the hole created in step 3. Your phone projector is now complete thanks to this.
You can express your creativity by painting or otherwise embellishing the phone projector.
Related Post: How to Use iPhone as Projector?
Conclusion on Project An Image on a Wall Without a Projector
In most large corporations, offices, and public spaces, a projector is a necessary piece of equipment.
But you can use a flashlight or your smartphone to simply project an image on a wall if you’re looking for a fun, original way to do it without a projector.
Making your own personal projector is a fun way to exercise your creative thinking. Additionally, you have the option of working on the project by yourself or enlisting the aid of some friends.
We trust that the instructions in this article helped you learn how to project a picture onto a wall. Please feel free to ask any questions in the comments section below if you have any. Thanks for reading!
Read More: Painting Wall for Projector Screen
FAQs
What is the Difference Between Traditional Projectors and Phone Projectors?
Generally speaking, traditional projectors are larger and more expensive than mobile projectors. The resolution and brightness are typically higher as well.
Why Are Projectors So Popular?
ecause they make it simple to show images or videos on a big screen, projectors are very common. When watching movies, playing video games, or giving presentations, this can be useful.
Does the Size of the Projector Matter?
The projector’s size is important, yes. In general, larger projectors are brighter and have higher resolution than smaller ones.

