Occasionally, when you use the projector to display images or videos at home or at work, the projector may become blurry. Then it’s time to run through some basic troubleshooting procedures. Knowing more about the mechanics behind the machine will help you maintain a clear picture in any situation.
Table of Contents
Reasons May Cause Your Projector Blurry
Unsmooth Surface
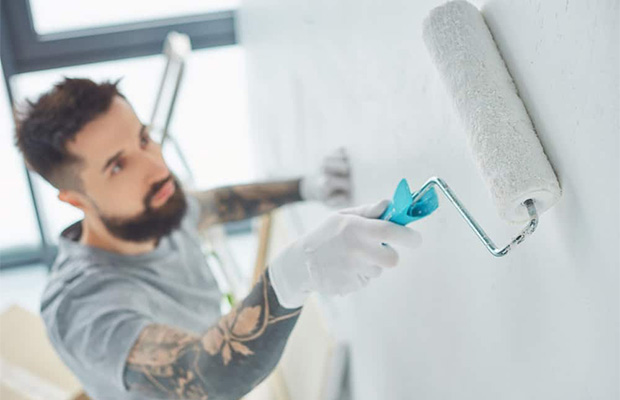
You have to make sure any surfaces you project your visuals on are clean, smooth, and flat so you get maximum visibility. Occasionally, if projected onto a surface with texture or previous dents, the image may be distorted.
If you’re displaying artwork or information that requires extra attention, the visual details you’re displaying may be lining up with uneven surfaces, which can make it harder for the naked eye to distinguish text, colors, and even tiny details.
You want to be sure to project on an even, matte, and monochrome surface for better image clarity and clarity.

Dirty Projector Lens
If you’ve made sure your surface is smooth and clear, another culprit for projector blur can be a dirty lens. When you’re using your projector regularly, it’s easy to forget to keep the lens clean as it can accumulate dust over time.
Similarly, accidents can happen because it gets dirty with dirt, dust particles, or any liquid they might come in contact with. One way to make sure you don’t get stuck with a blurry projector is to clean the lens before using it with a cloth.
Improper Projector And Screen
You’ve ensured that the projector is displaying visuals on a smooth surface and that the lens is clean, if you’re still seeing a blurry image, the projector and screen may not be aligned properly.
If you have installed the projector in one location, you must make sure that the projector is not zoomed in when displaying the visuals, which may be why you are seeing blurry images. Likewise, if the projector is mounted up or at an angle, it may not line up with a vertically mounted screen.
Misalignment of the projector and screen installation may cause the projector to display blurry images.
Lens Cover Be Attached To Lens
It may sound obvious, but have you removed the lens cap from the lens? It’s like looking around for your glasses, only to find them on your head. Sometimes we are all human.
So make sure you have removed the lens cap before you conclude that the projector is faulty or something is damaged inside. If your projector is mounted high, chances are you’re overlooking this possibility, in which case it’s better to make sure it’s removed than to call someone to fix it.
Unfocused Projector Lens
If none of the above points make the projector blurry, it’s likely because the lens isn’t focusing properly. The focus can be adjusted manually; however, it is best to ensure that the distance between the projector and screen is the recommended measurement.
Sometimes a defective lens can blur the projector, which can be caused by any external damage. In this case, you must replace the projector lens.
However, there are a few tricks and techniques that allow you to easily refocus the lens to ensure that the projector is no longer blurry.
One of the main reasons why projectors display blurry images can be related to the projector lens being out of focus or some external factors.
Also Read: Why is My Projector Not Displaying?
How To Refocus A Blurry Projector

- Take a soft cloth and wipe the projector lens with a microfiber cloth is ideal. This will remove any accumulated dirt or residue, as well as fingerprints that could distort the image. Don’t use any harsh cleaners on the lens as they can also build up dirt. If the dry cloth doesn’t work, lightly dampen it with equal parts vinegar and warm water.
- Use the knob on the projector to slowly start adjusting the focus of the lens until the image is in focus. Once the image is clear, pull the knob back to blur the image again. While this may seem odd, it helps ensure you get the right settings so you don’t have any blurry images.
- You need to set the resolution by connecting it to your computer. After doing this, you need to configure the resolutions to match each other. This will ensure that the resolution of the image is not lost.
- Don’t panic if the projected image looks small. By default, they are small to prevent the picture from being enlarged and distorted.
- Ideally, you should place the projector close to the screen and zoom out for a sharper image. However, if you cannot move the projector, you can still use the zoom function to adjust the image.
- Do not tilt the projector as it will make your image look unbalanced or even curved.
Ways to Improve the Quality of Your Projector’s Image
A good way to get a better image is to make sure the projector is set to the brightest mode. This is because many types of video degrade the projector’s light quality and produce dark images.
Sometimes the problem with a projector isn’t because the image is blurry, it’s because you’re projecting a screen. Make sure you’re using a high-gain screen, as they focus the projector’s light better and increase its output. When you do, don’t forget to dim the lights in the room. Bright lights may interfere with projector lighting.
Because projectors generate heat, they can sometimes accumulate moisture. When this happens, dust and dirt are more likely to stick to the lens. Make sure there is adequate cooling around the projector, such as a fan. This will help prevent the lens from getting dirty too often.
Another simple solution that many people forget to do is to check the sharpness settings to improve image quality. This can greatly improve the quality of the pictures people see on the screen.
Conclusion
Projectors often display blurry images if they have not been used or maintained for a long time. By taking good care of your projector and its lens, you can be sure that it will last a lifetime.
Still, before you start spending your hard-earned dollars on projector repairs, be sure to take the time to check for the problem at home. Use the suggestions provided and try to rule out possible causes of the problem. Most projector problems are easy to fix at home without contacting the manufacturer.


